Category
- Building Smart Apps
Creating Forms
Forms are a means to input data into your database.
- Open the app you have created and go to Dashboard Edit.

- Click Form > Create Form from the left panel to create a new form.

- Enter form title. You can give three different titles to a form – main title which is given on creating a new form, form title to be shown in Edit mode, and form title to be shown in View Only mode.
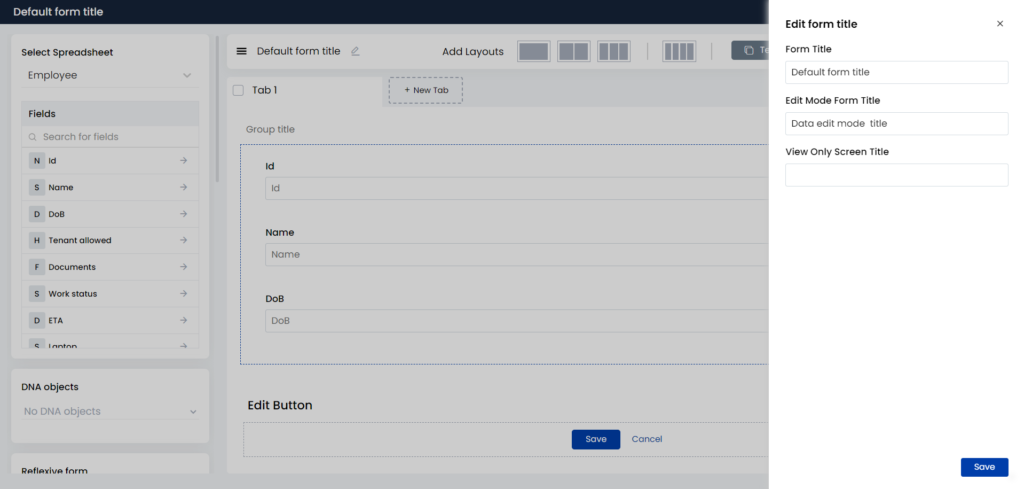
- Select the source spreadsheet from the dropdown list. The fields of the selected spreadsheet are displayed in the left pane. The datatype of the fields is also displayed next to each field. Click the arrow for the fields you want to display. The fields get listed in the order of selection.
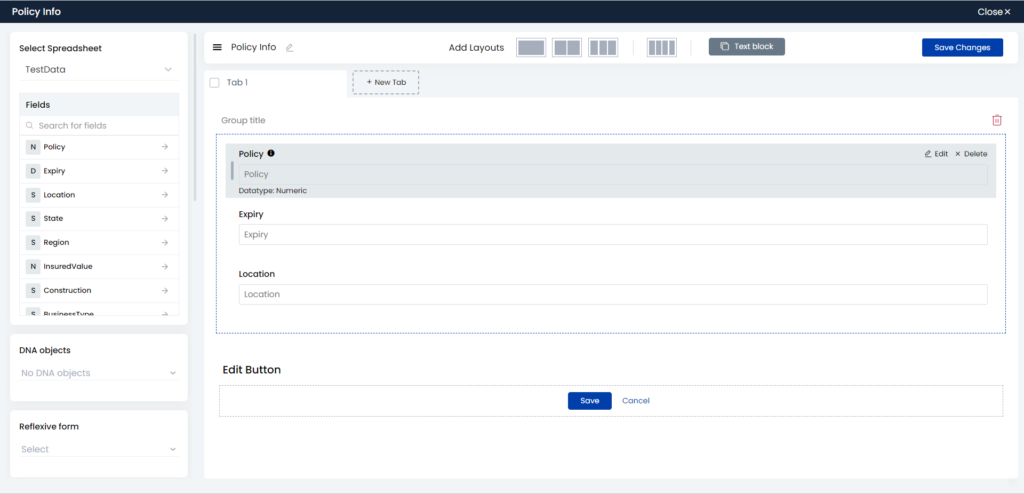
- Click Save Changes. You have created a new form.

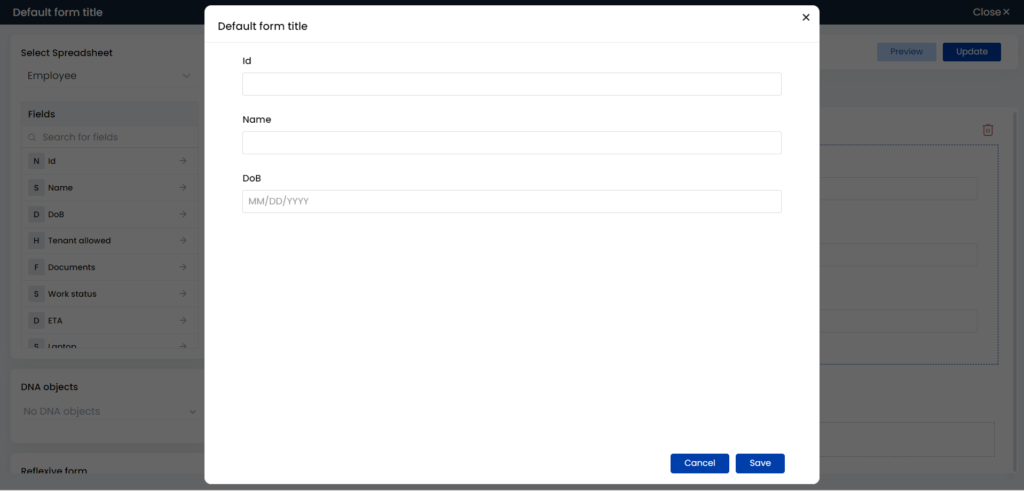
- Click Preview on the top right of the form builder to find the preview of the form.
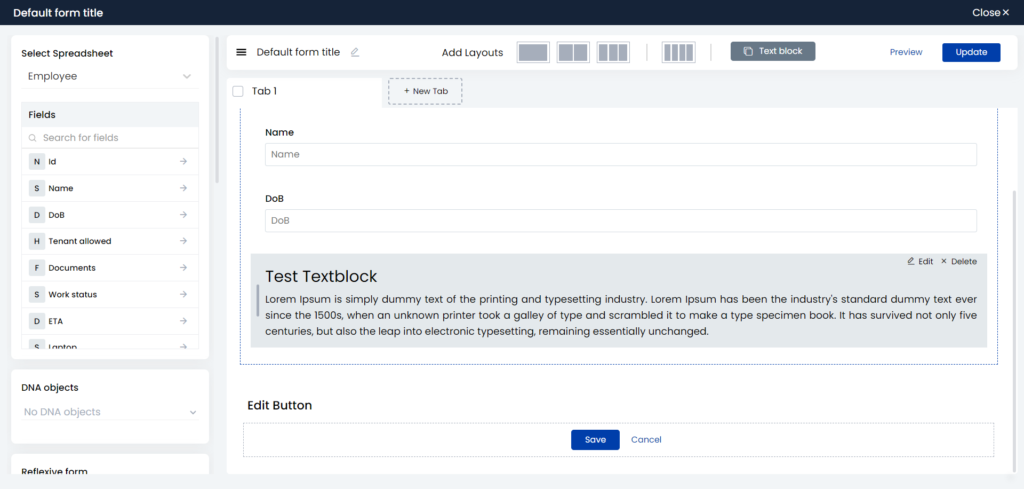
- Click Text block to enter multi-line text.
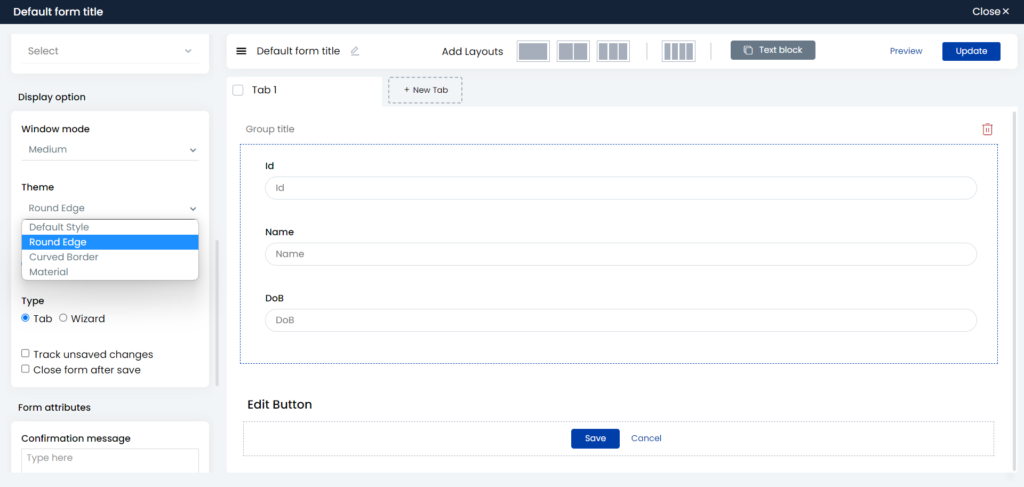
- You can set a theme for the text area of the field.
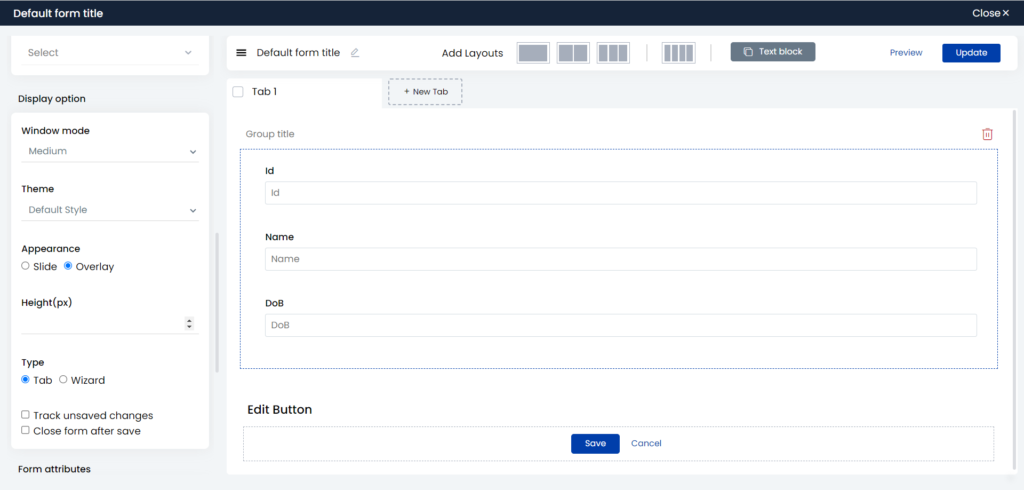
- You can specify the height and customize the size of the form overlay.
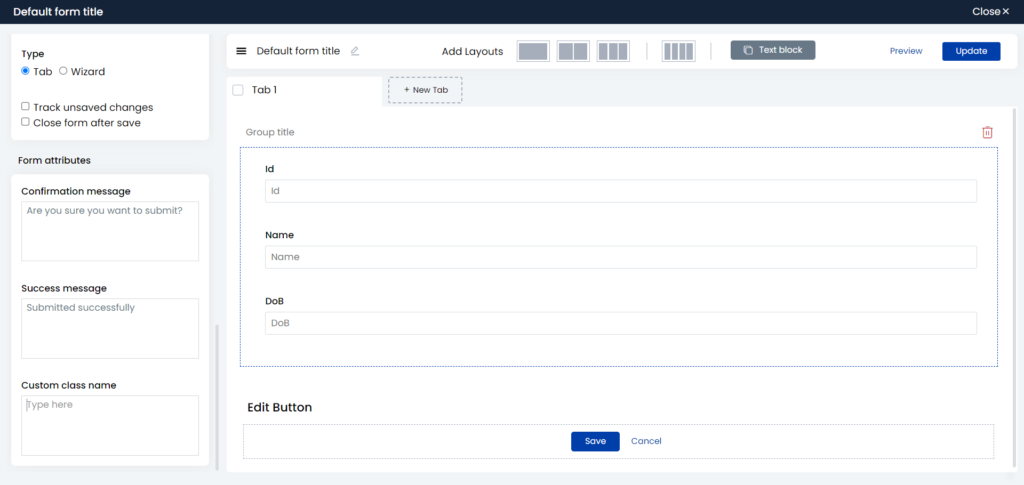
- You can specify the confirmation message and success message to be displayed on submitting the form directly on the form builder page without using any workflow. You can also add custom scripts to style the form.
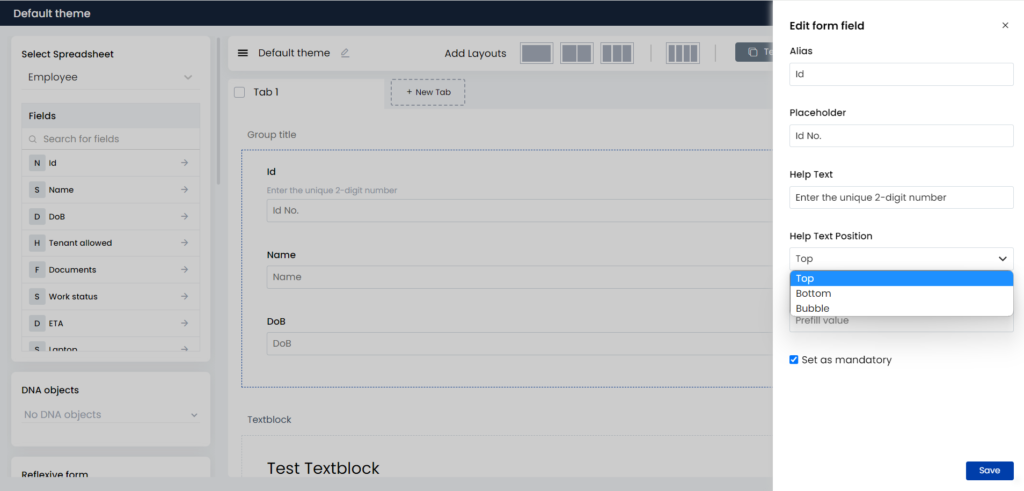
- Form field edit options: You can give an alias name, enter placeholder text, enter help text and set the position for the help text, and also set a default value for a field in the form. You can also set a field as mandatory by selecting the checkbox for Set as mandatory. The form field will have an asterisk symbol indicating that the field is mandatory.
- Field dropdown: You can set field dropdowns as normal, smart – where a datalist is displayed as a dropdown, radio buttons, or checkboxes.
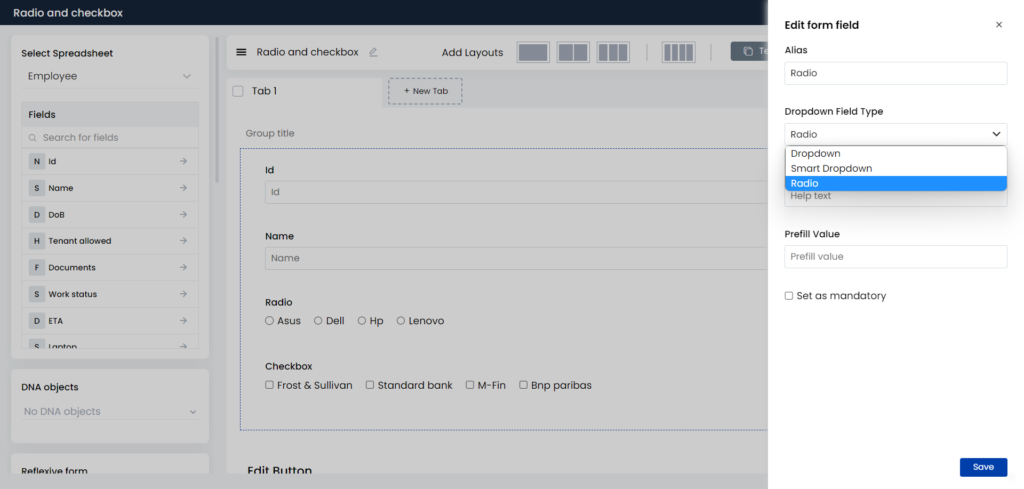
To display checkboxes, go to the source spreadsheet, select the dropdown column, and select the checkbox for Multiple from Column Settings.

To know more about smart dropdowns, click here.
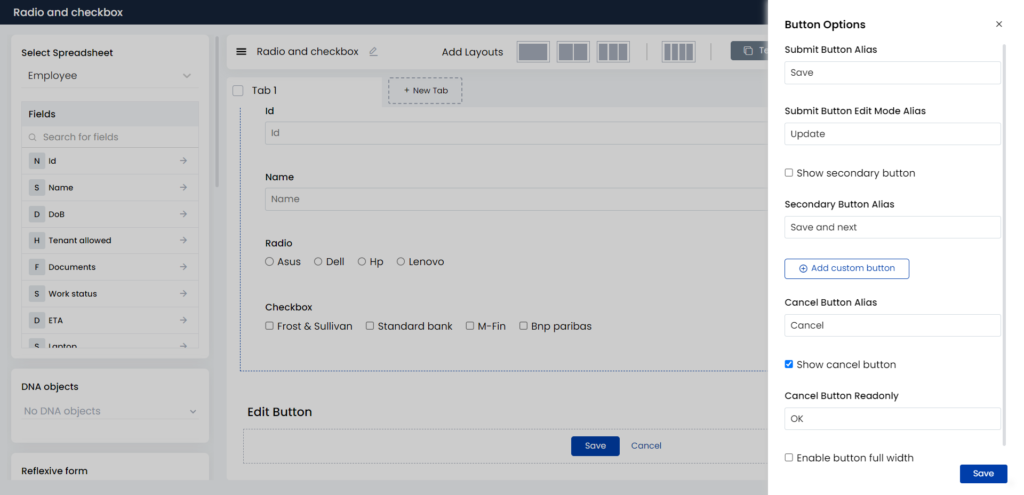
- Buttons: You can set alias names for buttons and add/delete custom buttons.
Connecting a Form to a Grid or a Datalist
You can connect a form to a grid or a datalist to input data to your database.
- To connect a form to a grid, open the Grid Builder page from Dashboard Edit.
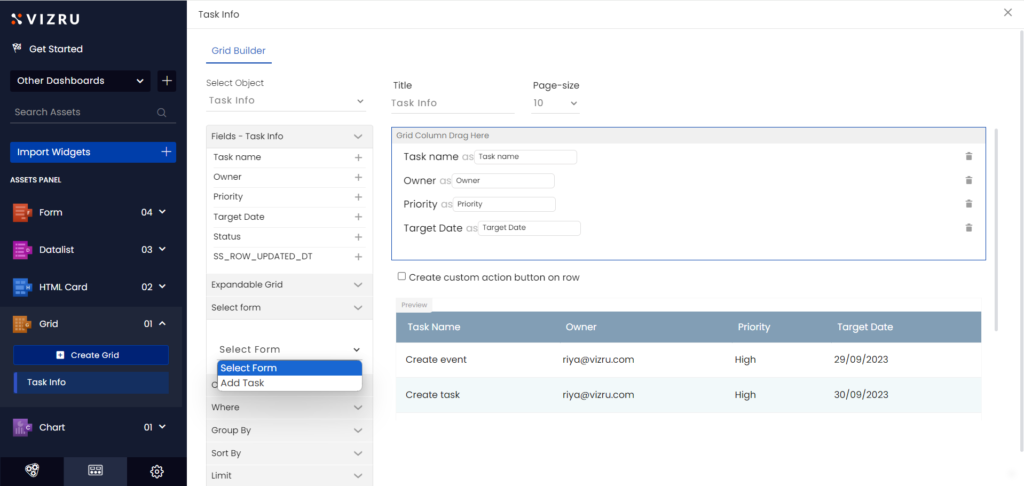
- Select the form from the dropdown list on the left panel. Update the dashboard and click View.
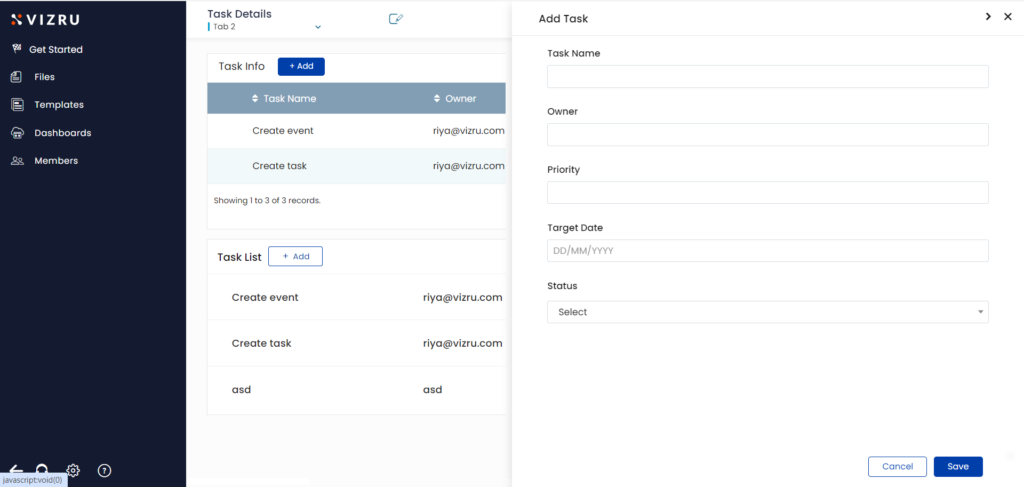
- Click + Add on the grid to view the form.
- To add a form to a datalist, open the Datalist Builder page from Dashboard Edit.

- Select the form from the dropdown list from the left pane. Click Update. The form is now connected to the datalist.
- Click + Add on the datalist to view the form.

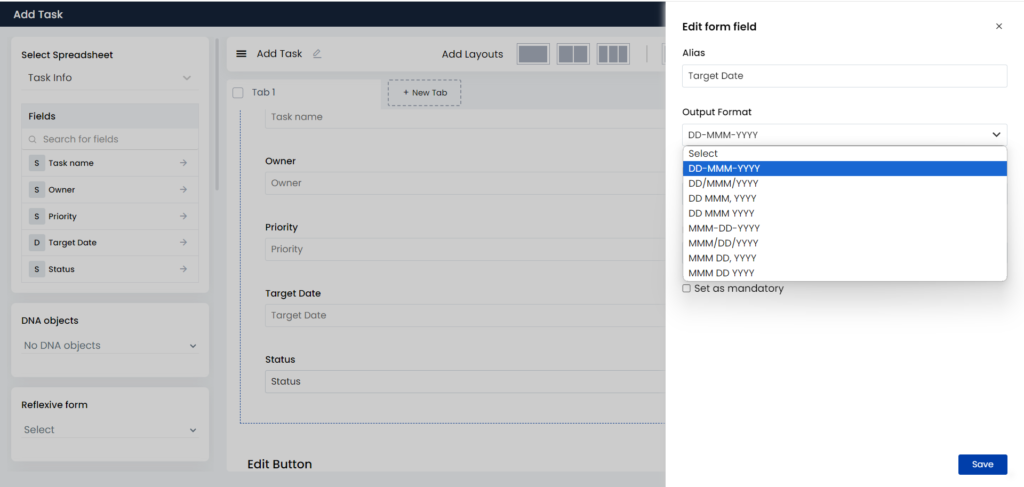
Custom date formatter
You can change the date output format in form irrespective of the format in the spreadsheet. This change can be seen only in the form and not on the dashboard.
Adding alias to form add button
You can customize the names for the Add button in a form connected to the datalist. This is done from the Datalist Builder page.
