Category
- Working with Workflows
Using the Custom Output Block
The Custom Output block is used to prepare JSON data, which can be fetched by a third party or pushed to a third party using cloud blocks.
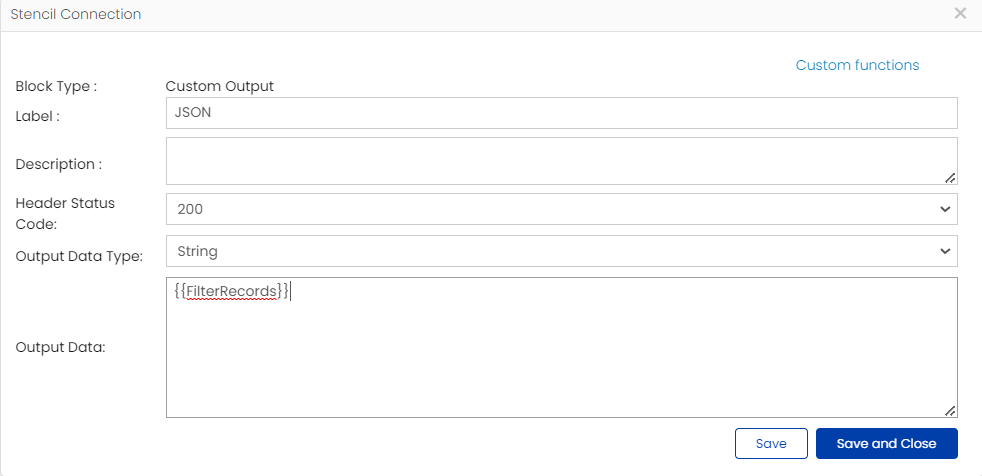
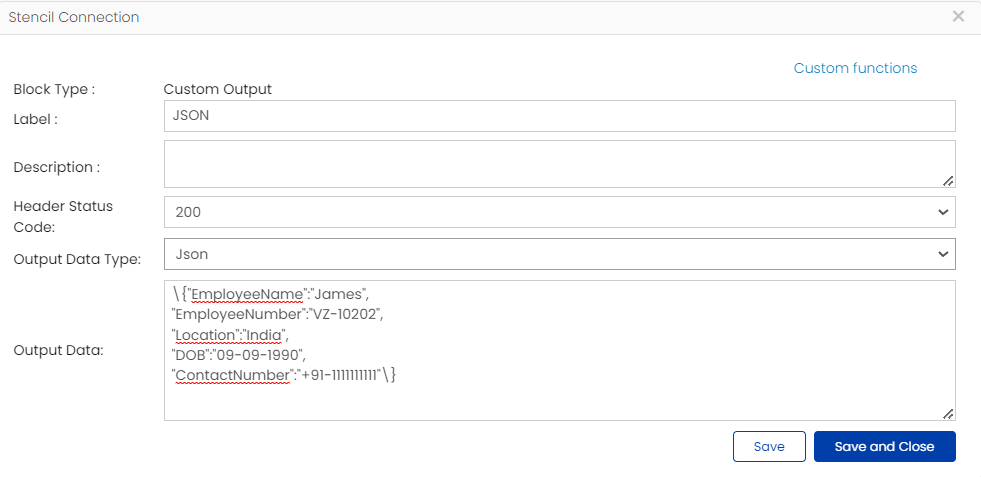
- Enter a suitable name to the function block in the field Label.
- Add a description to the function block, if any.
- Enter the appropriate HTTP code in the field Header Status Code. This code will be passed along with the JSON data prepared, while the data is fetched by a third party or pushed to a third party. For example, the code 200 stands for “OK”, while the code 404 stands for “Not Found”.
- Enter the data you want to convert to JSON format in the field Output Data.
The first example converts the output of a filter block to JSON format. The second example converts specific entities to JSON format.
Note:
- To fetch data from the Custom Output Block, call as {JsonData}.
- Before passing the JSON data output from the Custom Output Block to cloud, clean the data (that is, remove special characters) using the command {%clean_json Data.Value %}. Here “Data.Value” is the JSON output in a Set Variable block.
Displaying confirmation window using Custom Output block
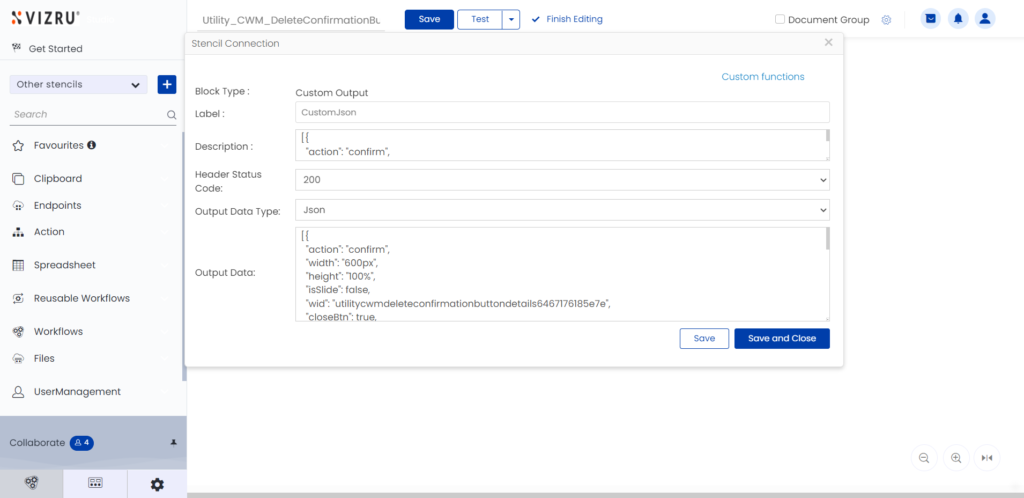
You can overlay a confirmation window using the Custom Output block. In the Custom Output block, select the Output Data Type as JSON and enter the required format for the confirmation window in the field Output Data – specify the action as “Confirm”, specify the height, width, title, content, and button style for the confirmation window, and provide the workflow shortcode corresponding to the action that needs to be triggered. The Custom Output block will convert this data to a confirmation pop-up. This eliminates the need to build HTML cards and call them as overlay for pop-ups.