Category
- Building Smart Apps
Configuring left menus using Menu Builder
You can configure and customize left menus for every app you build. The default menus available are
- Files
- Templates
- Dashboards
- Members
Configuring left menus using Menu Builder
To set a new left menu for an app, go to Settings > Configure Policies > Menu Builder. The following page is displayed.
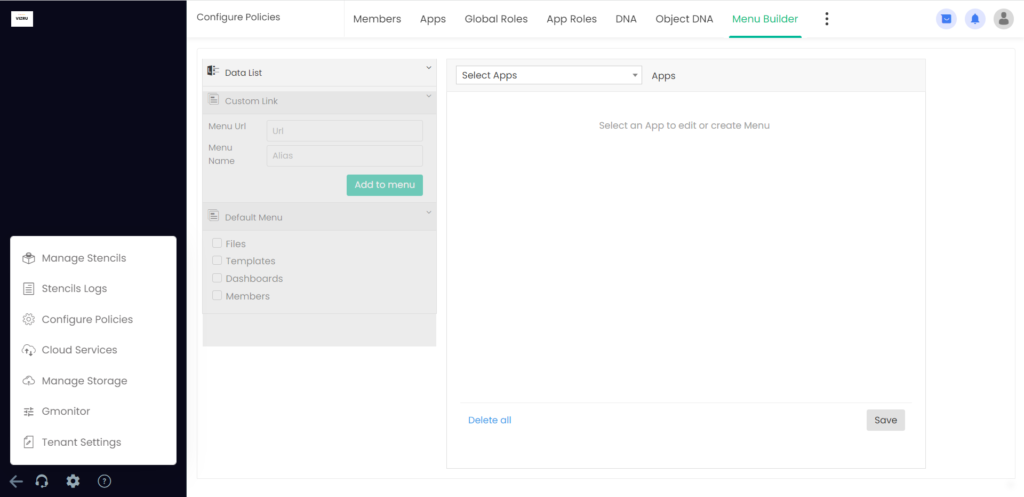
- Select the app from the dropdown list for which you want to add a new left menu.

- Copy the URL of the dashboard that you want to open on clicking the new menu. Paste the link in the field Menu URL. If the dashboard is within the same app or tenant you can use the TinyURL (#tiny.url/ls/liveapps.view/<shortcode>). If the dashboard is from an external source, use the complete URL with the domain name.
- Enter a name for the menu in the field Menu Name.
- Click the button Add to Menu.
- The menu you just created will be displayed in the right panel.
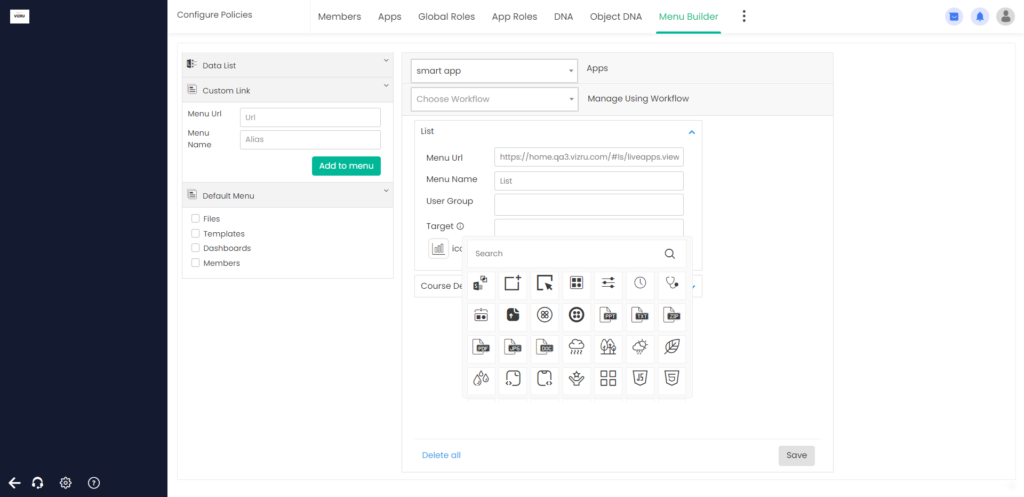
- Choose an icon for the menu.
- Select user groups, if any, if you want to show the menu only to specific users of the tenant.
Note: User groups are displayed as defined in Profile > Invite people when a new user or user group is added to a tenant.
- Enter “_blank” in the field Target to open the menu in a new tab.
- You can drag and drop the menus to reorganize the order of the menus.
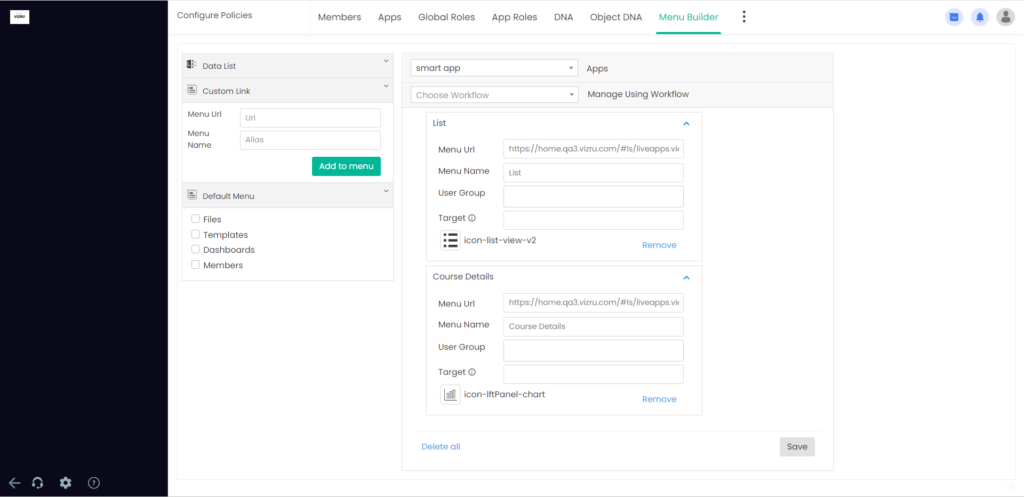
- Select the checkbox for the default menus if needed.
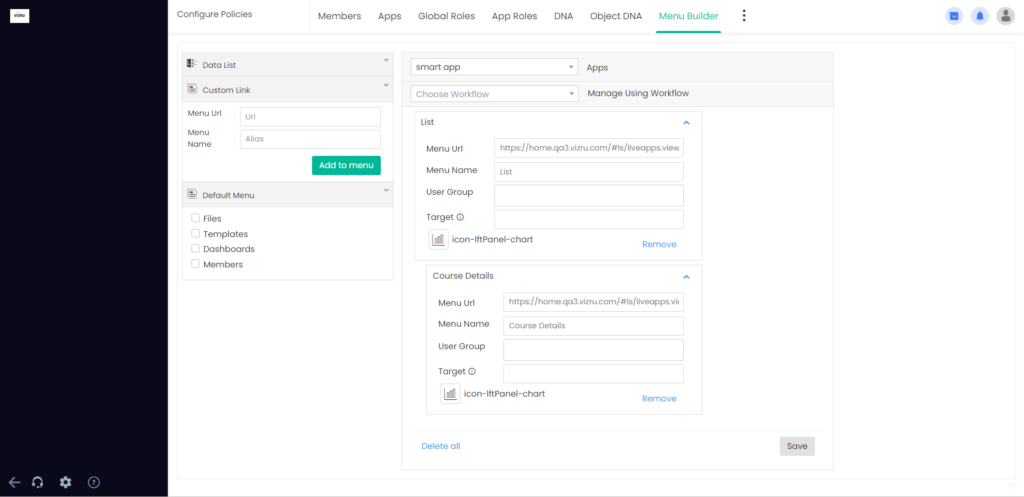
You can create sub-menus also. The process of creating a sub-menu is the same. After creating the menu, you just need to drag the menu slightly to the right.
You can manage left menus using workflow. To know more, click here.